-
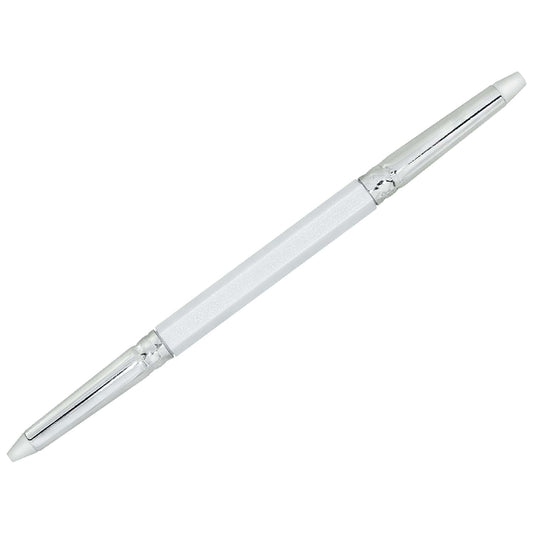
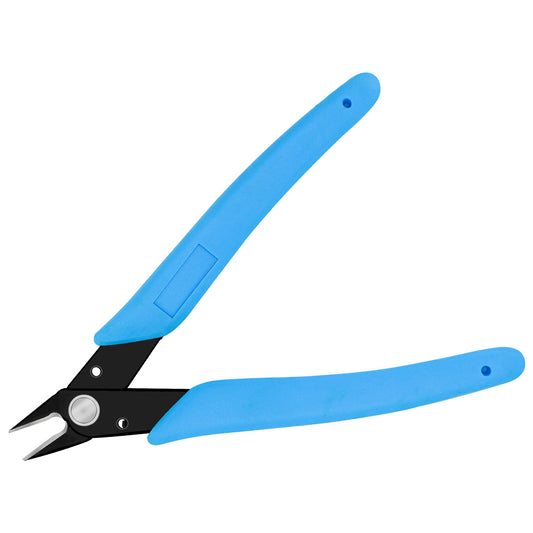
Nail art picker
Regular price 4,95 €Regular price -
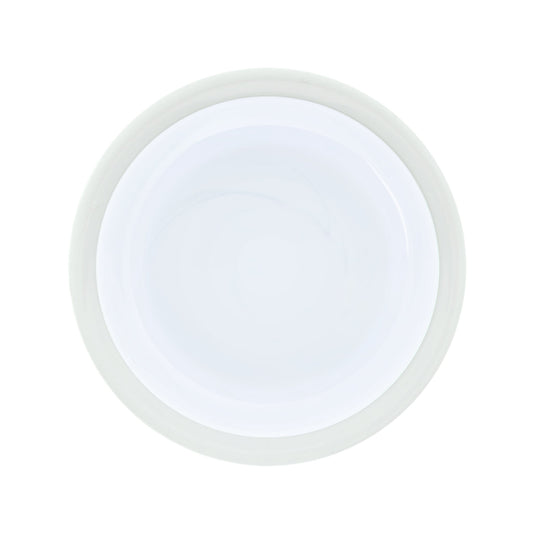
Nail art glue gel
Regular price 8,90 €Regular price -
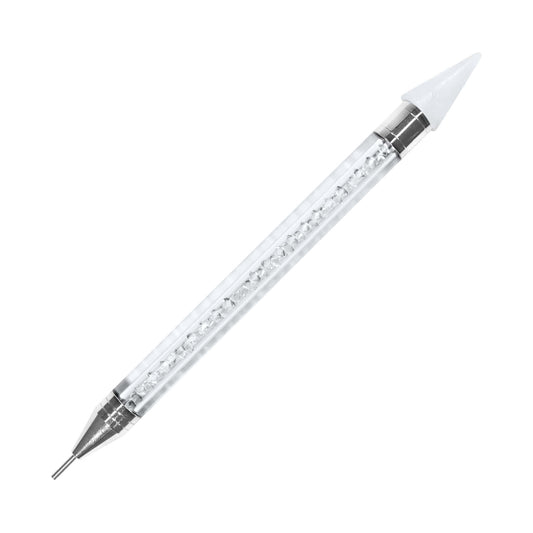
Design nail art picker
Regular price 5,90 €Regular price -
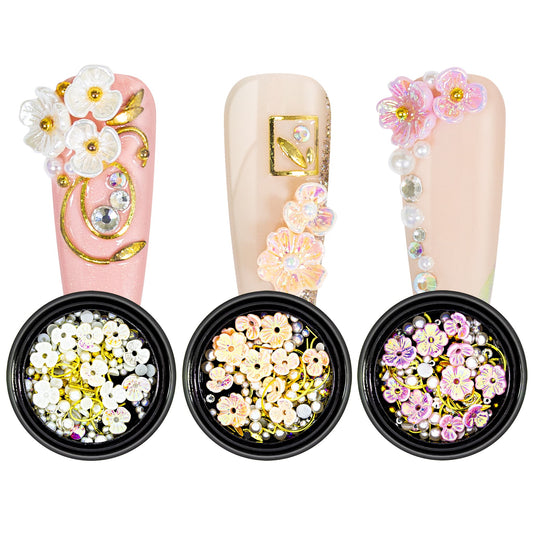
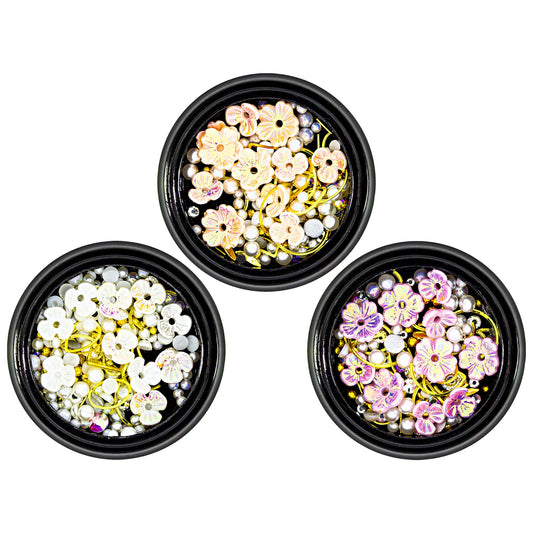
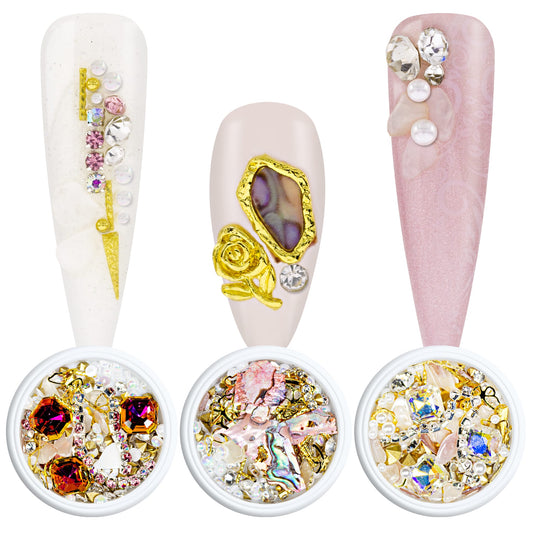
Nail Art Overlay 3D Pearls Flower Mix Set
Regular price 9,90 €Regular price0,00 €Sale price 9,90 €Unit price perSold out -
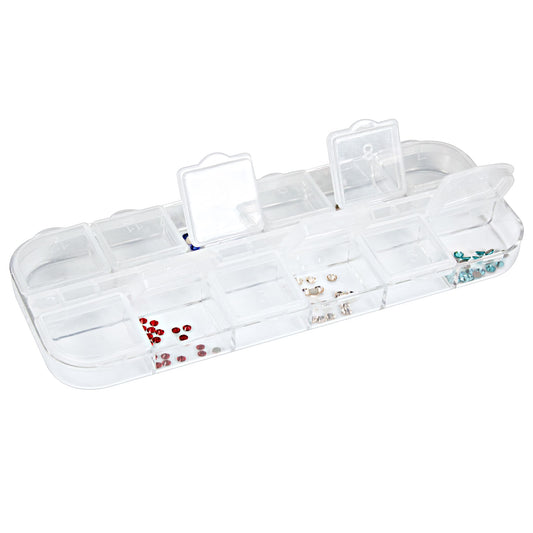
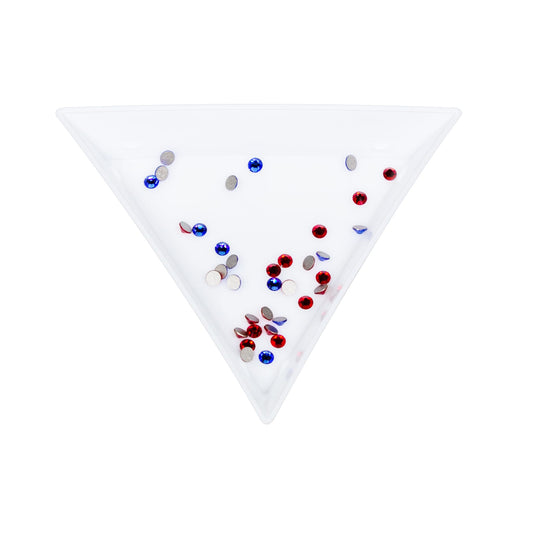
Nail art storage box
Regular price 2,90 €Regular price -
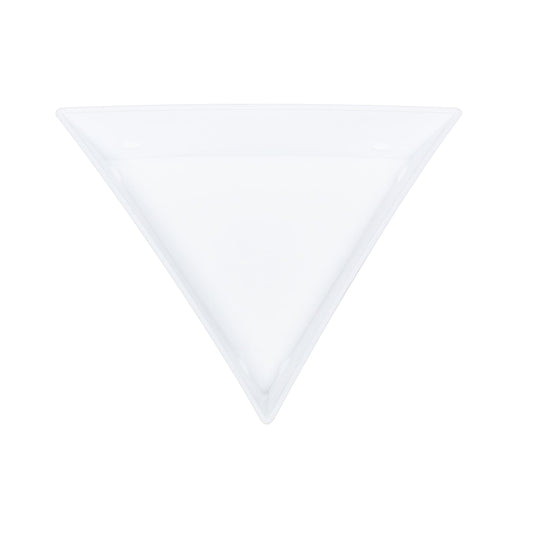
Nail art transfer aid
Regular price 0,99 €Regular price0,00 €Sale price 0,99 €Unit price per -
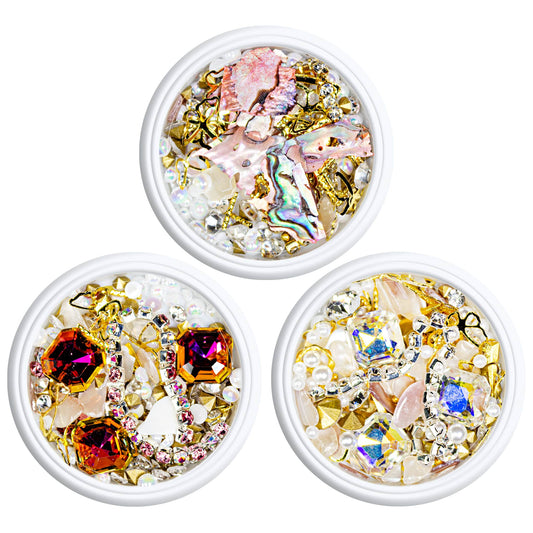
Nail art BlingBling Glamor Mix Set
Regular price 11,90 €Regular price0,00 €Sale price 11,90 €Unit price per -
Overlay Remover Tool
Regular price 7,90 €Regular price0,00 €Sale price 7,90 €Unit price per


Inlays and overlays for individual nail art are the most beautiful elements for your nail design. Be inspired by sparkling rhinestones, shimmering sequins, fruity colors or glittering Swarovski®Crystal elements!
Design your nail art individually with fantastic motifs to insert or place on the nail and your modeling! The difference between nail art with an inlay or with an overlay is simply explained: With an inlay, the nail art element is incorporated into the individual layers of the nail modeling. With an overlay, a piece of jewelry is placed on the finished model and, if necessary, covered with a layer of finish gloss gel for safety. Both are suitable for spicing up everyday nail designs or adding a special touch to elegant looks, for example for a wedding.
This is what our nail designer 👩🎨 Stefanie says about nail art with inlay & overlay:
“The inlays and overlays are nail art classics in the studio that always inspire with new motifs!”
Inlay & Overlay: Customize nail art
With the colorful or sparkling inlays or toppers ✨ you can give your nail design a very individual touch. They are suitable for a wide variety of designs and can add a certain sophistication 🌟 or seasonal charm to classic looks such as a colored full cover or the legendary French manicure. Particularly beautiful: They can be used either as a recurring pattern on all nails or as a highlight on a decorative nail on the hand. Small inlays 🔹 or overlays can also be seen in groups on a nail and create great effects - there are no limits to your imagination for this extraordinary look with the original elements!
- Inserts & hangers
- Colorful & sparkling
- Individual nail designs
Inlay: Work inlays into the nail design - here's how it works!
The inlays, also known as inserts, are incorporated directly into the nail modeling. Thin nail art elements are particularly suitable for this ⭐ . You can incorporate them into your nail design as follows: After matting the nail and/or tip, apply a layer of adhesive gel and allow it to harden completely. You then apply your desired inlay element to the desired location on the nail, for example just below the edge of your previously drawn and hardened French line. This is followed by construction and sealing according to the instructions of the respective product manufacturer - and your nail design with inlay is ready!
- Prepare nail
- Matt nail/tip
- Apply adhesive gel and cure
- Make a nail design (for example French) and place an inlay
- Complete construction
- Seal with gloss gel
9 steps to perfect overlay nail art
To attach an overlay, called an overlay ✨ , to your nail, you first create a nail model according to the well-known scheme: prepare the nail, matt it, apply adhesive gel and harden it, and complete the nail design including the model structure (for example French or full cover) and harden it. Finally, apply the sealing gel. While it is still wet, press the overlay element 🎇 you selected into the designated place on the nail. Then you harden the sealing gel according to the product instructions and can look forward to your overlay nail art!
- Prepare nail
- matting
- Apply adhesive gel and cure
- Apply nail design (full cover or French etc.) and cure
- Make the model structure and harden it
- Apply sealing gel
- Insert overlay into the wet gel
- Cure sealing gel
- If necessary, apply a second layer of gloss gel and cure
Expert tip from our nail designer 👩🎨 Stefanie:
"For particularly large or high overlays, you can apply a second layer of sealing gel and let it harden so that your nail design stays flawless for as long as possible."